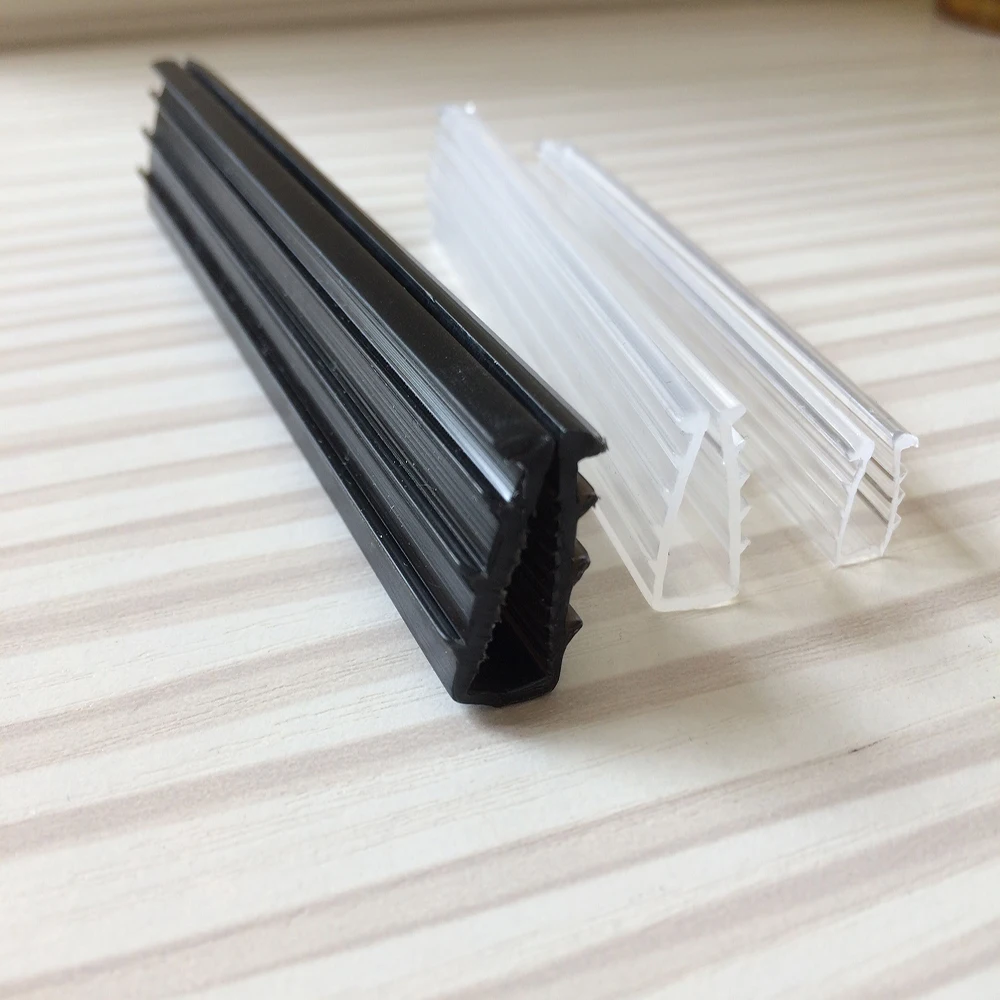
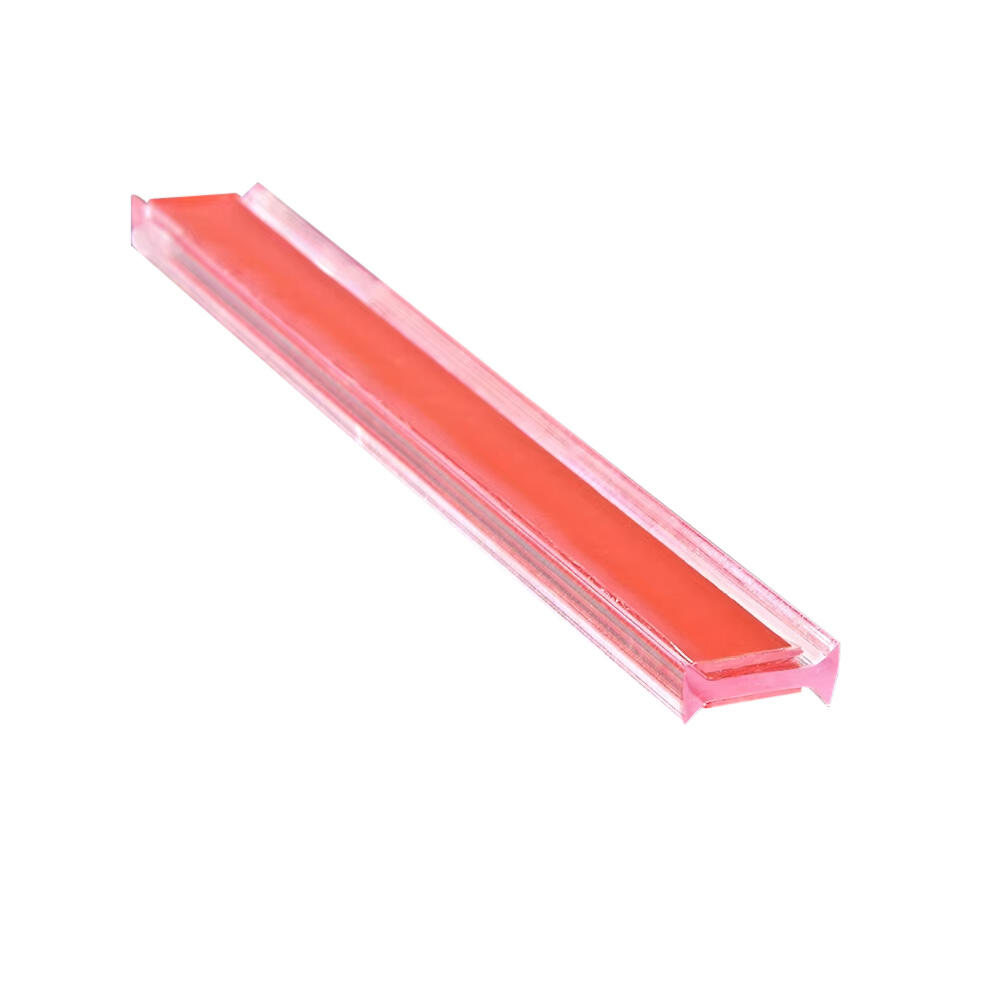
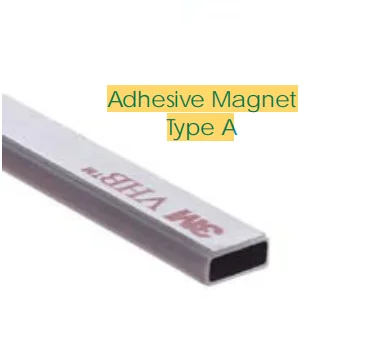
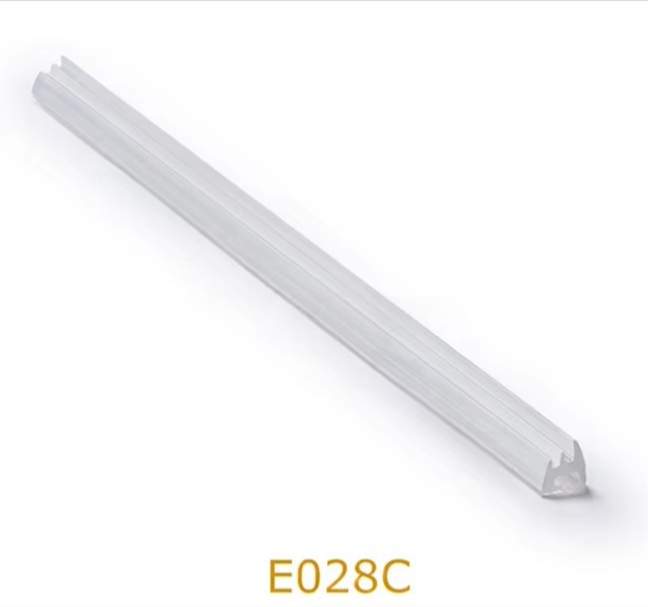
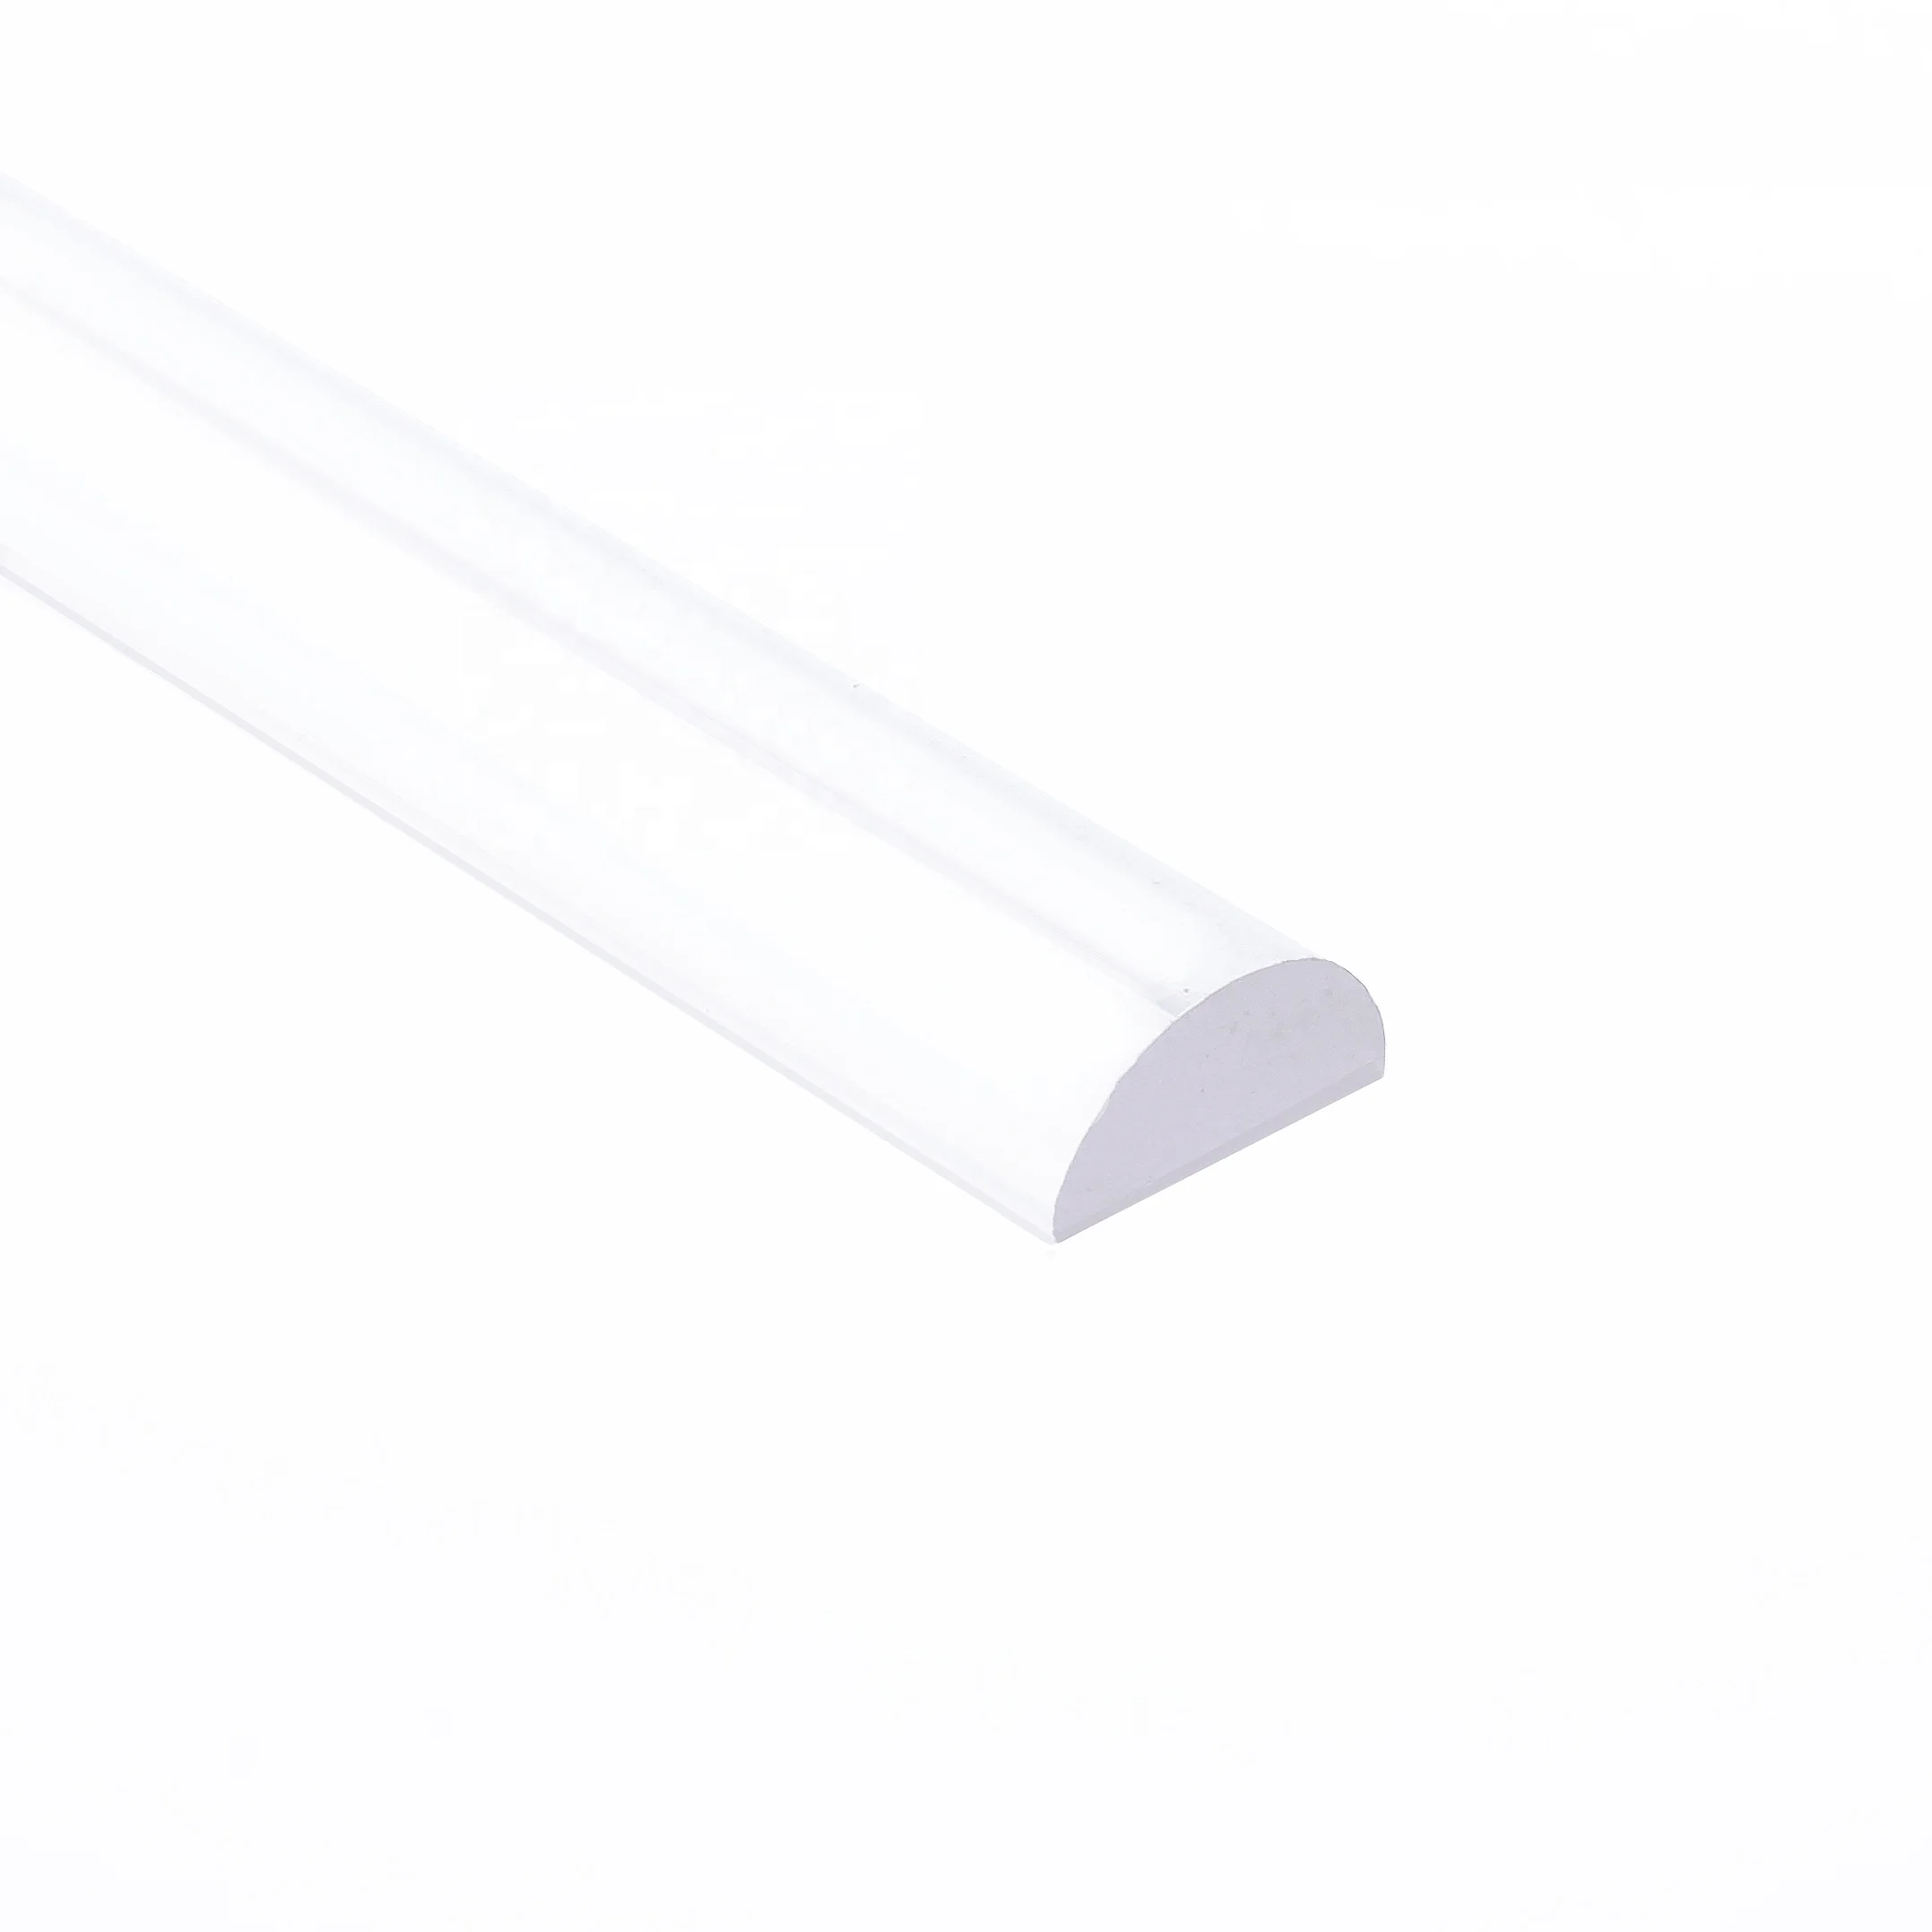
Achieving a leak-free fit with an F-type shower door seal demands more than a casual trim. Its unique cross-section and material composition mean that generic scissor cuts or rough snapping often cause deformation, uneven compression, and eventual leakage. Understanding its dual-lip structure—and how common seal materials respond to cutting—is essential to producing a clean, functional edge.
The F-shaped profile consists of a rigid mounting fin that slides into the door channel and two flexible lips: one seals the glass edge, while the other forms a secondary barrier against water bypass. When cut imprecisely, these lips fray or compress unevenly—reducing contact integrity. A precise cut preserves the geometry so both lips compress uniformly under normal door closure pressure. Even a sub-millimetre irregularity can create a gap that compromises the entire seal. Therefore, cutting must follow the contour of the lips—not just the overall width—to maintain consistent sealing force across the full height.
Most F-type seals are made from either PVC (polyvinyl chloride) or TPE (thermoplastic elastomer), each requiring distinct handling. PVC is stiffer and more brittle; dull blades risk chipping or micro-cracking along the cut edge. TPE is softer and more elastic, making it prone to stretching or tearing if cut too quickly or with excessive downward pressure. For both, a sharp, fine-tooth blade—or a fresh utility knife blade—minimizes deformation. Slower, controlled passes reduce distortion far more effectively than a single heavy stroke. Recognizing these traits allows you to adjust blade angle and pressure for a smooth, stress-free end that seats snugly without kinking or gapping.
Before cutting, gather the right tools and account for material loss—common oversights that lead to misfit and rework. A small error in measurement or blade choice can waste the seal and delay installation.
The dual-lip profile demands a tool that slices cleanly without crushing the soft material. A sharp utility knife with a new blade remains the most accessible and effective option—it enables precise, single-pass scoring through the base while preserving lip geometry. For thicker or high-durometer seals, a flush-cut saw with fine teeth offers superior control and squareness, especially when working freehand. Avoid standard scissors, which pinch and deform the flexible lips. Always support the seal on a flat, stable surface—and cut slightly beyond your marked line to allow for final micro-trimming.
Length alone is insufficient. Seals undergo compression set over time—gradual loss of elasticity that causes them to shorten permanently under load. Cutting to exact door height risks premature loosening. Add 1–2 mm of kerf allowance to offset blade thickness and minor material deformation during cutting. Also measure the door gap at top and bottom independently; tile lippage or frame inconsistencies often create asymmetrical gaps. Base your cut mark on the widest measured gap, then test-fit before final trimming. This protocol prevents the all-too-common error of cutting too short—and ensures long-term, leak-resistant performance.
Mount the uncut seal temporarily along the door edge and close the shower door fully. Observe where the seal contacts the jamb or threshold—this reveals the true compression zone under real-world conditions. Mark the overlap point, then add 1–3 mm of extra length to accommodate expected compression set in PVC or TPE over time. Next, perform a quick compression test: press the seal firmly against the frame and note where the dual lips begin to deform. Align your cut mark with this deformation threshold—not with raw tape-measure dimensions. Use a permanent marker on the non-adhesive backing side for clear, durable visibility.
Place the marked seal on a flat, stable surface with the marked side up. In Phase 1 (Steady), apply even, moderate pressure with a sharp utility knife to score the first 60–70% of the width—this prevents buckling in the soft material. In Phase 2 (Depth-Managed), reduce pressure to lightly score the remaining depth without cutting fully through the bottom lip. This preserves lip integrity and avoids jagged separation. In Phase 3 (Verified), gently bend the seal open along the scored line—the halves should separate cleanly. If fibrous strands remain, trim them precisely with fine-pointed scissors. This method consistently yields a straight, deformation-free end that seats fully in the channel without gaps or stress points.
Cutting is only the first step—the true validation happens during installation. Gently slide the trimmed seal into the door channel without forcing it. Close the door fully and inspect the entire vertical edge for light gaps, inconsistent lip compression, or visible separation between the seal and glass. If any area shows poor contact, mark it precisely with a pencil, remove the seal, and perform a micro-trim—no more than 1/16 inch (1.5 mm) at a time. Reinstall and retest after each adjustment. This iterative process ensures uniform compression across both lips. Finally, run a wet finger firmly along the contact surface to simulate hydrostatic pressure: a properly cut and seated F-type seal will resist water passage completely, confirming a durable, leak-free fit.
 Hot News
2025-06-16
2025-06-25
Jinsu (Guilin) Plastic Profiles Co., Ltd is a leading Chinese manufacturer of custom PVC shower door seals and window gaskets. With 20 production lines and 80+ technicians, we deliver durable, waterproof sealing solutions for bathrooms and industrial applications. Trusted by clients in Europe and America. Request a quote today.
Copyright © 2025 by JinSu (Guilin) Plastic Profiles Co.,Ltd Privacy Policy
 EN
EN